Close

June 26th, 2025
Congratulations! You have decided on your first GRACO Paint Sprayer and have already
purchased it from AEMCO, the authorized distributor and service center for GRACO equipment in Saudi Arabia. Now, it is our job to ensure that you get maximum productivity and performance from your sprayer.
You can always return to AEMCO and request training on your equipment. AEMCO will help every new customer learn the following things:
1. What PPE needs to be worn during the operation of the Equipment in Saudi Arabia.
2. How to Spray with the GRACO Paint Sprayer.
3. How to clean the equipment after spraying.
4. What are the preventive measures that need to be done periodically?
5. How to store the equipment if not used for a long time.
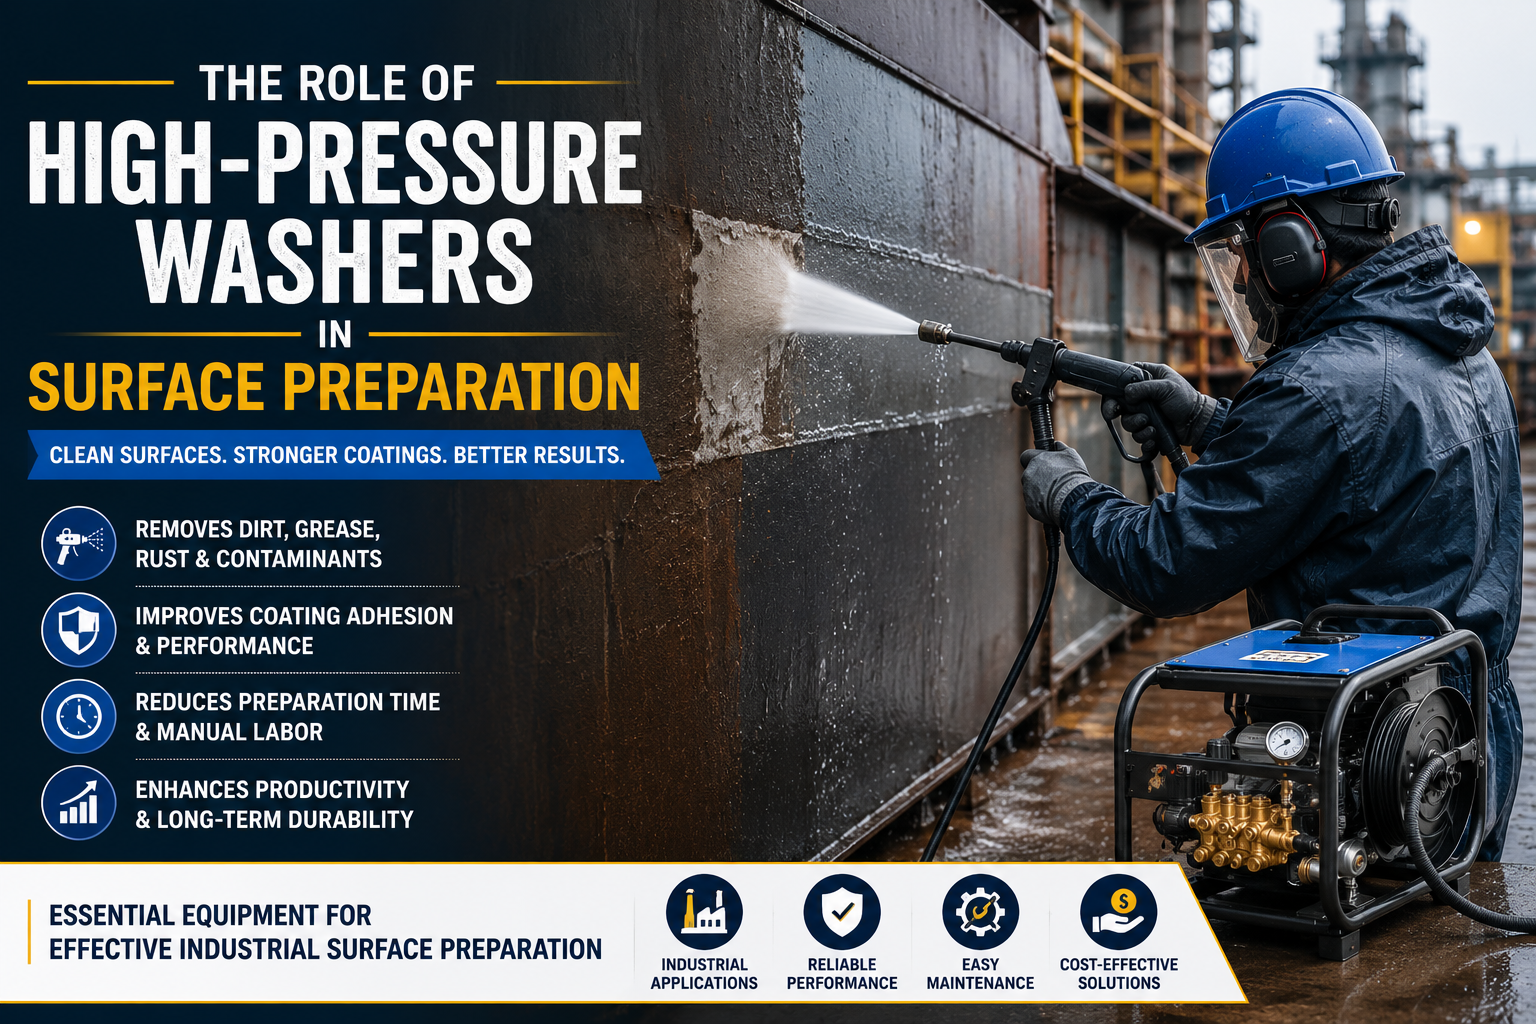
Maintaining stringent safety protocols when operating a GRACO Paint Sprayer is paramount to mitigating risks associated with toxic fumes, chemical exposure, and high-pressure hazards. Adhering to proper PPE guidelines and best practices not only safeguards the operator’s well-being but also optimizes operational efficiency and regulatory compliance.
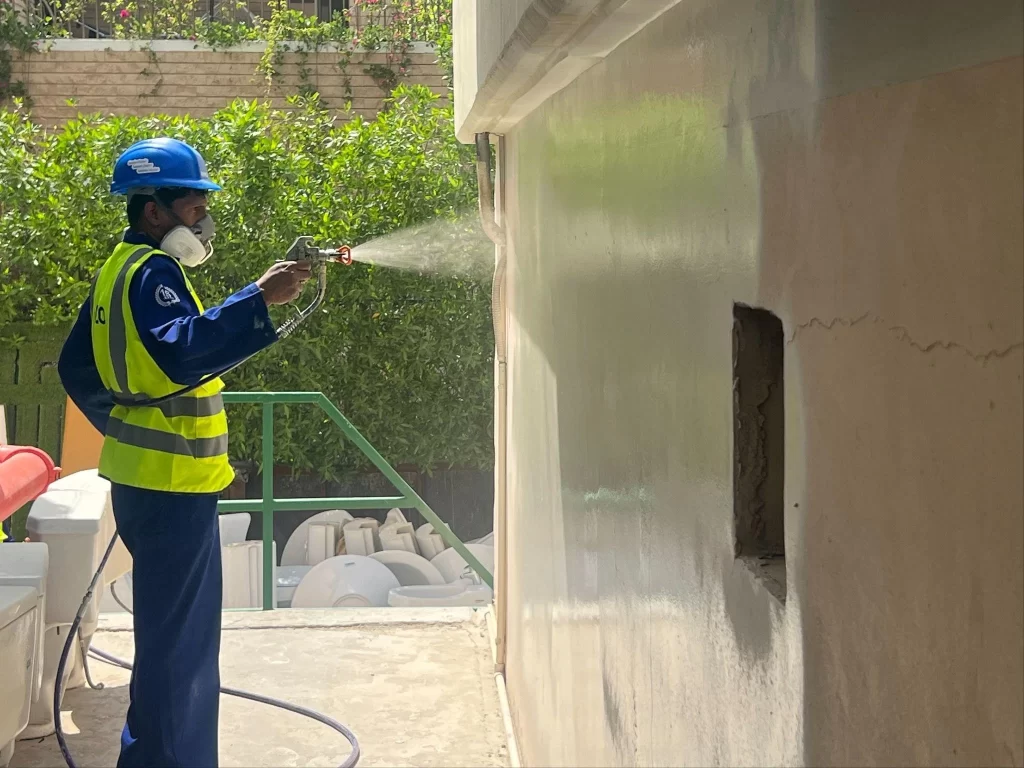
The essential personal protective equipment (PPE) required before startup;
Safety Goggles – Protects eyes from paint mist, chemical splashes, and airborne particles.
Ensures clear vision and prevents irritation or injury during spraying.
Respirator Mask – Shields the respiratory system from inhaling hazardous fumes and fine paint particles. A high-quality mask with proper filtration is essential for safe breathing.
Protective Gloves – Prevents direct skin contact with paint, solvents, and chemicals. Durable,
chemical-resistant gloves provide enhanced grip and reduce exposure to harmful substances.
Coveralls and Footwear – Full-body coveralls protect clothing and skin from overspray an spills, while slip-resistant, chemical-resistant footwear ensures stability and prevents accidental exposure to toxic materials.
AEMCO is committed to enhancing customer safety through comprehensive training programs, equipping users with in-depth knowledge of proper equipment operation, stringent PPE protocols, and industry-best practices to mitigate risks associated with GRACO Paint Sprayers.
If you want to start the pump yourself, you can go through the following :
At AEMCO, customer education is key. Before using your sprayer for the first time or at any point, always remember to perform the pressure relief procedure to ensure it’s de-pressurized. This crucial step in setting up your sprayer is vital for maintaining its peak performance and efficiency. Trust us to guide you through the process for optimal results.
1. Engage the gun trigger lock.
2. Turn the on/off switch to OFF.
3. Turn the pressure control to the lowest setting.
4. Reverse the tip and disengage the gun trigger lock.
5. Hold a metal part of the gun firmly to a grounded metal pail and trigger the gun to relieve
pressure.
6. Engage the trigger lock.
7. Turn the prime valve to the PRIME, or DRAIN, position.
It’s time to prime the pump after the pressure relieving process is finished.
1. Engage the trigger lock.
2. Remove the tip and guard from your gun.
3. Place the fluid intake hose into a paint pail and place the drain tube into a waste pail.
4. Be sure the prime valve is in the PRIME, or DRAIN, position.
5. Turn the pressure control to the lowest pressure setting.
6. Turn the on/off switch to ON.
7. Increase the pressure control until the motor starts. Till the paint runs smoothly out the drain tube, let it circulate through the sprayer.
8. Turn the on/off switch to OFF.
You have now primed your pump with fluid. Next, it is time to prime the hose and gun to be ready to spray.
1. Hold the gun against a grounded metal waste pail, disengage the trigger lock, pull the gun trigger and hold.
2. Then, turn the prime valve to the SPRAY position.
3. Turn the on/off switch to ON.
4. Let the pump run until you see paint come out of the gun. Then, turn the on/off switch to OFF and release the gun trigger.
5. Move the gun to the paint pail, pull the gun trigger, turn the on/off switch to ON and let the pump run for about 20 seconds.
6. Then, release the trigger and allow the sprayer to build pressure.
7. Engage the trigger lock.
8. Screw the tip assembly onto the gun and tighten.
Testing your spray pattern on a test surface is advised. Cardboard scraps or other waste material should be sprayed with test designs. Use these procedures to test the spray pattern.
1. Turn the pressure control knob to a mid-way position.
2. While holding the gun 12 inches from the test surface, disengage the trigger lock and spray a test pattern.
3. If the pattern has heavy edges, often known as tails, gradually raise the pressure and continue to spray test patterns until a soft, blendable spray pattern replaces the harsh edges.
After following the above steps, narrated by AEMCO you’re now ready to spray. These start-up processes, together with our safety advice, best practice spraying methods, and cleaning procedures, should all be followed before spraying.
Please do not hesitate to get back to AEMCO to get hands-on training for your GRACO Paint Sprayer. We believe a good hands on training is more effective and productive.
Proper cleaning and maintenance after each use are essential to keep your GRACO Paint Sprayer performing at its best. Regular cleaning prevents clogging, ensures a smooth spray pattern, and extends the lifespan of your equipment. Neglecting this step can lead to dried paint buildup, affecting performance and causing costly repairs. following the cleaning and maintenance best practices, you can ensure your sprayer is always ready for the next job.
Proper setup of your AEMCO GRACO paint sprayer is essential for optimum lifetime and performance. Maintaining the effectiveness of your equipment while achieving accurate, expert outcomes is possible if you follow the right methods. AEMCO, the top GRACO Paint Equipment Supplier Saudi Arabia, is dedicated to providing knowledgeable advice, practical training, and continuous assistance. If you need further assistance or troubleshooting, don’t hesitate to reach out to our team. We also invite you to leave your comments or contact us for any inquiries. Your success with GRACO starts with the right knowledge AEMCO is here to help every step of the way.

CEO
I’m Larson Vellara, a professional with 25 years of experience in the Construction Equipment industry, having worked with top brands like Hilti, Makita, Graco, Trelawny, and Lissmac. I have held key roles, including CEO, Business Development Manager, Product Manager, Trade Manager, Assistant Marketing Manager, Regional Training Manager, and Divisional Manager, specializing in strategic leadership and market expansion. With a Postgraduate Diploma in Training & Development and an MBA in Marketing & Finance, I am passionate about driving growth and innovation. Recognized as Best Debater and Elocutionist in school, I value communication and continuous learning in my professional journey.